

Choice of using a front end framework such as Vue.Js, React or Angular is great however if you are an indie Dev like & need a rapid prototyping methodology with just HTML, CSS & JavaScript then this article is for you.
To demonstrate step be step, we are going to use Golang's Go-Gin. So let's building our base structure of the project with an MVC pattern.
Folder structure
- Create a root folder called hypi-app in your workspace
workspace ❯ mkdir -p hypi-app
- Enter the new app directory & Create 3 folders for holding the models, views & controllers for MVC
workspace ❯ cd hypi-app && mkdir {models,views,controlllers}
- Now Create folders to holder the routes & router
workspace ❯ mkdir {routes,router}
- Let us create templates folder for HTML files & public to serve CSS, Images & JavaScript
workspace ❯ mkdir -p {templates/layouts,templates/partials,public/images,public/css,public/js}
- Finally let us create a main.go, essentially the entry point for the app
hypi-app ❯ touch main.go & mkdir server
Now we all should have our project structure like this:
hypi-app ❯ tree
.
|____server
|____models
|____public
| |____css
| |____images
| |____js
|____controlllers
|____templates
| |____layouts
| |____partials
|____views
|____routes
|____main.go
|____router
Web Server's main entry
We are going to define the servers main entry in main.go file as followed:
package main
func main() {}
We will working on this file later.
Putting the server together
Inside server directory create a server.go file and add the following code:
package server
func Init() {}
Now create a router.go in router folder and add the following code in it
package router
import (
"github.com/gin-gonic/gin"
)
func Router() *gin.Engine {
router := gin.New()
router.Use(gin.Logger())
router.Use(gin.Recovery())
}
Now most importantly let us create system default routes which will help us in handling unknown routes & failures.
Create a file called routes.go and add the following code in it
package routes
import "github.com/gin-gonic/gin"
func NotFound(route *gin.Engine) {
route.NoRoute(func(c *gin.Context) {
c.AbortWithStatusJSON(404, "Not Found")
})
}
func NoMethods(route *gin.Engine){
route.NoMethod(func(c *gin.Context) {
c.AbortWithStatusJSON(405, "not allowed")
})
}
Now in the router file let us import the default routes & run "go get -u github.com/gin-gonic/gin" in your terminal
package router
import (
"github.com/gin-gonic/gin"
"hypi-app/routes"
)
func Router() *gin.Engine {
router := gin.New()
router.Use(gin.Logger())
router.Use(gin.Recovery())
// System routes
routes.NotFound(router)
routes.NoMethods(router)
return router
}
We now have everything we need to get our server up, let us add the router to server initialization
package server
import "hypi-app/router"
func Init() {
r := router.Router()
r.Run(":3000")
}
Now we call the server initialization from our main entry point
package main
import "hypi-app/server"
func main(){
server.Init()
}
If you have followed along as described then we should be able to run our server & test it, from your hype-app directory run go run main.go
hypi-app ❯ go run main.go
[GIN-debug] [WARNING] Running in "debug" mode. Switch to "release" mode in production.
- using env: export GIN_MODE=release
- using code: gin.SetMode(gin.ReleaseMode)
[GIN-debug] Listening and serving HTTP on :3000
Go Views
We will be using go view to define our front end, let us get started & install go-view by typing "go get github.com/foolin/goview" in your terminal
create a index.go file and add the following content
package views
import (
"github.com/foolin/goview"
"github.com/foolin/goview/supports/ginview"
"github.com/gin-gonic/gin"
"html/template"
"net/http"
"time"
)
func IndexView(route *gin.Engine) {
app := ginview.NewMiddleware(goview.Config{
Root: "templates/",
Extension: ".html",
Master: "layouts/master",
Partials: []string{"partials/link",
"partials/meta",
"partials/title",
"partials/scripts_head",
"partials/scripts_foot"},
Funcs: template.FuncMap{
"copy": func() string {
return time.Now().Format("2006")
},
},
DisableCache: true,
})
appGroup := route.Group("/", app)
{
{
appGroup.GET("/", func(ctx *gin.Context) {
ginview.HTML(ctx, http.StatusOK, "index", gin.H{
"title": "Hypi App | Hello World!",
})
})
}
}
}
Now let us add the view to our router
package router
import (
"github.com/gin-gonic/gin"
"hypi-app/routes"
"hypi-app/views"
)
func Router() *gin.Engine {
router := gin.New()
router.Use(gin.Logger())
router.Use(gin.Recovery())
// System routes
routes.NotFound(router)
routes.NoMethods(router)
// Index view
views.IndexView(router)
return router
}
Now let us create a reusable HTML structur, under templates/layouts folder create a new file call master.html, this will be the master layout and add the following content
<!DOCTYPE html>
<html lang="en">
<head>
{{template "link" .}}
{{template "meta" .}}
{{template "title" .}}
{{template "scripts_head" .}}
</head>
<body>
{{include "layouts/header"}}
<div class="core">
{{template "content" .}}
</div>
{{include "layouts/footer"}}
{{template "scripts_foot" .}}
</body>
</html>
Create footer, & header HTML files under layouts we will not use it for this tutorial however let us create it to understand the structure.
now we need to create some partials that can be used in all layouts when needed, under partials directory create a new file named link.html
{{define "link"}}
<link rel="shortcut icon" href="https://hypi.io/wp-content/uploads/2018/10/cropped-purple@2x-square-white-bg-32x32.png?x83512">
<link rel="stylesheet" href="https://cdnjs.cloudflare.com/ajax/libs/semantic-ui/2.4.1/semantic.min.css" />
<link href="https://fonts.googleapis.com/css?family=Lato:100,300,400,700&display=swap" rel="stylesheet">
{{ end }}
Create a meta.html file and add the following code
{{ define "meta"}}
<meta charset="UTF-8">
{{ end }}
Create a scripts_foot.html file and the scripts to be loaded in the footer section
{{define "scripts_foot"}}
<script src="https://cdnjs.cloudflare.com/ajax/libs/jquery/3.4.1/jquery.min.js"></script>
<script src="https://cdnjs.cloudflare.com/ajax/libs/semantic-ui/2.4.1/semantic.min.js"></script>
{{end }}
For now create scripts_head.html file and add the following code but we will not be loading any scripts on header for this go gin front end development tutorial
{{define "scripts_head"}}
{{end }}
Now our last partial which will hold and parse the title for each page, create a title.html & add the following code
{{define "title"}}
<title>{{.title}}</title>
{{end}}
Now we will create our index.html file with the following code
{{define "content"}}
<div class="ui stackable grid">
<div class="ui equal width row row-vh-f">
<div class="ui column brand-bg-img row-vh-f"></div>
<div class="ui column auth-bg middle aligned padded">
<div class="ui container form segment">
<form class="ui form padded">
<div class="ui buttons two fluid">
<div class="ui animated fluid large fade button" tabindex="0">
<div class="visible content"><i class="github icon"></i></div>
<div class="hidden content">
Github
</div>
</div>
<div class="ui left floated animated fluid large fade basic button" tabindex="0">
<div class="visible content"><i class="slack icon"></i></div>
<div class="hidden content">
Slack
</div>
</div>
</div>
<div class="ui buttons two fluid">
<div class="ui animated fluid large fade facebook button" tabindex="0">
<div class="visible content"><i class="facebook icon"></i></div>
<div class="hidden content">
facebook
</div>
</div>
<div class="ui left floated animated fluid large fade twitter button" tabindex="0">
<div class="visible content"><i class="twitter icon"></i></div>
<div class="hidden content">
twitter
</div>
</div>
</div>
<div class="ui buttons two fluid">
<div class="ui animated fluid large fade google plus button" tabindex="0">
<div class="visible content"><i class="google plus icon"></i></div>
<div class="hidden content">
google plus
</div>
</div>
<div class="ui left floated animated fluid large fade youtube button" tabindex="0">
<div class="visible content"><i class="youtube icon"></i></div>
<div class="hidden content">
youtube
</div>
</div>
</div>
<div class="ui buttons two fluid">
<div class="ui left floated animated fluid large fade vk button" tabindex="0">
<div class="visible content"><i class="vk icon"></i></div>
<div class="hidden content">
vk
</div>
</div>
<div class="ui left floated animated fluid large fade linkedin button" tabindex="0">
<div class="visible content"><i class="linkedin icon"></i></div>
<div class="hidden content">
linkedin
</div>
</div>
</div>
<div class="field">
<div class="ui checkbox">
<input type="checkbox" tabindex="0" class="hidden">
<label>I agree to the Terms and Conditions</label>
</div>
</div>
</form>
</div>
</div>
</div>
</div>
{{ end }}
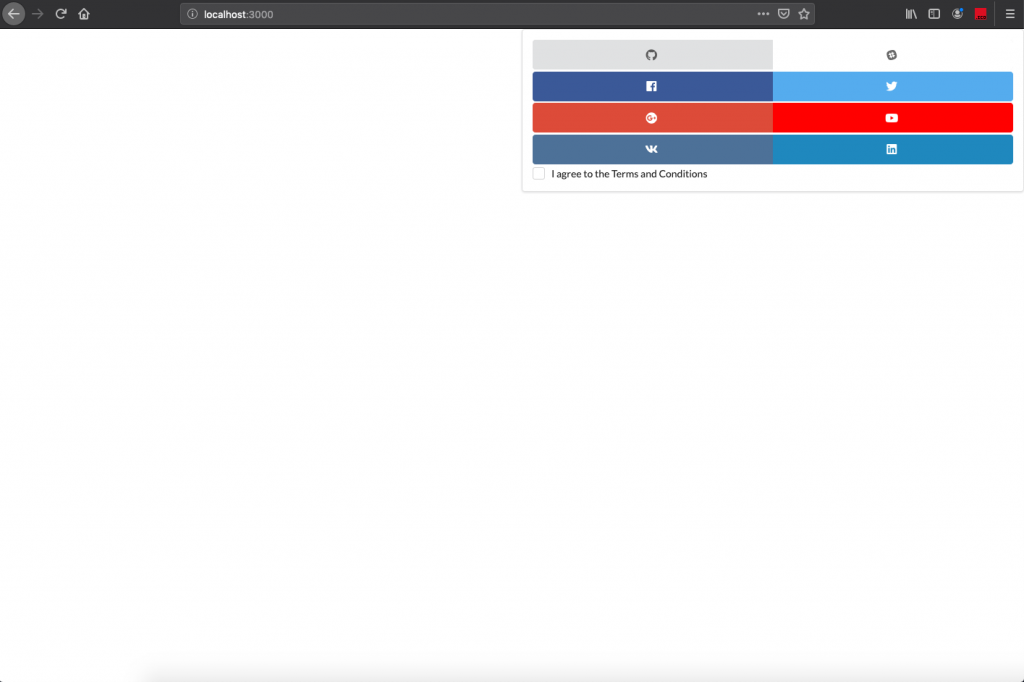
All right now let us try running the server you should see a page like this
Serving Static Content
Great we have created our own front end structure with MVC pattern. Now this code base can be further extended into a full fledged application when we start writing our controllers & models but it is outside the scope of this article & hopefully i will continue to write in another tutorial.
But before you start playing around this code base there is one more thing that i would like you to learn which is serving static files as we are doing front end development, So let us create static route and add it to our router to server the files as intended.
Create a static.go file under the routes folder and add the following code
package routes
import "github.com/gin-gonic/gin"
func PublicImages(route *gin.Engine) {
route.Static("/public/images", "./public/images")
}
func PublicCss(route *gin.Engine) {
route.Static("/public/css", "./public/css")
}
Now include this route in router with the updated code as shown below
package router
import (
"github.com/gin-gonic/gin"
"hypi-app/routes"
"hypi-app/views"
)
func Router() *gin.Engine {
router := gin.New()
router.Use(gin.Logger())
router.Use(gin.Recovery())
// System routes
routes.NotFound(router)
routes.NoMethods(router)
// Static Routes
routes.PublicCss(router)
routes.PublicImages(router)
// Index view
views.IndexView(router)
return router
}
now let's add a style.css file in the css folder and add the following style.
h1, h2, h3, h4, h5, h6, p, a {
font-family: 'Lato', sans-serif !important;
}
.core{
height:100%;
}
.brand-bg-img{
background: #2D52A3 url("../media/images/botecho_logo_size_invert.png") no-repeat;
background-size: contain;
background-position: left center;
}
.row-vh-f{
height: 100vh;
}
.auth-bg{
background-color: #FFFFFF;
}
Import the newly added style to link.html
<link rel="stylesheet" href="../../../../public/css/style.css"/>
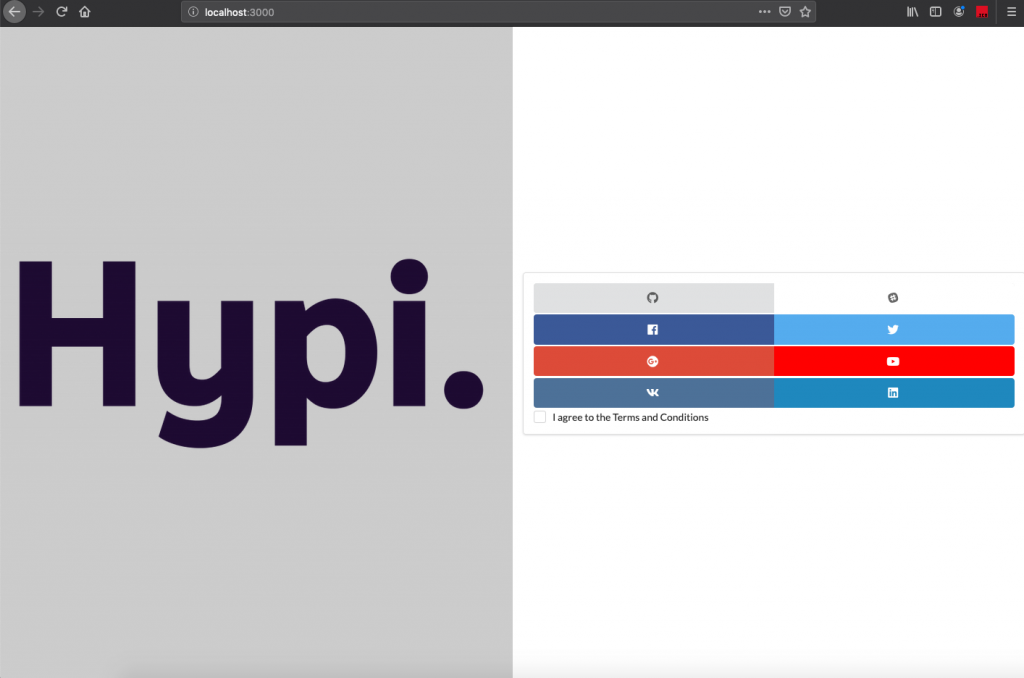
That's it, now run the server with "go run main.go", you should see your new hypi app page like this
Code for this tutorial can be found here , Have fun!


